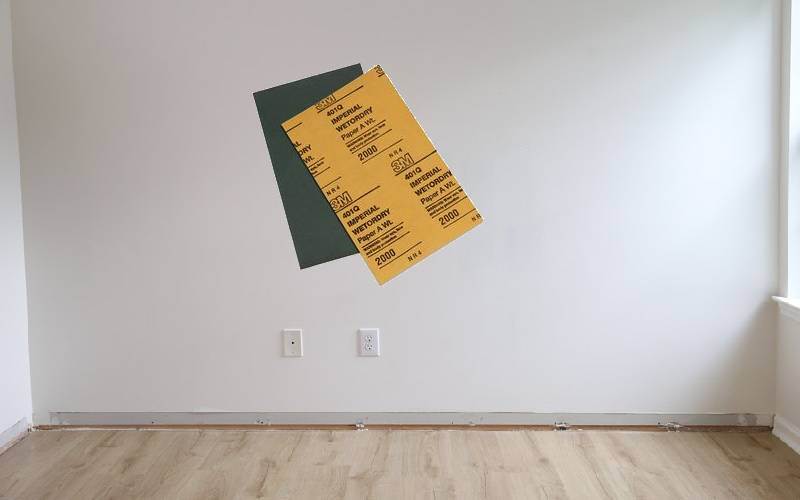
Sanding walls before painting is an important step in the painting process. It helps to smooth out any imperfections or rough spots on the wall, creating a better surface for the paint to adhere to.
This can also help to improve the overall finish and appearance of the painted wall. It is recommended to use a fine-grit sandpaper, such as 120-grit, to lightly sand the walls. Be sure to wipe down the walls with a damp cloth after sanding to remove any dust or debris.

How to sanding walls before painting
Here are the steps for sanding walls before painting:
- Start by removing any existing paint or wallpaper on the walls. Use a scraper or putty knife to carefully remove any loose paint or wallpaper.
- Next, fill in any holes or cracks in the walls with spackling or joint compound. Allow the spackling or joint compound to dry completely before sanding.
- Choose a fine-grit sandpaper, such as 120-grit, to lightly sand the walls. Use a sanding block or electric sander to make the process easier and more efficient.
- Be sure to sand the edges and corners of the walls by hand, as these areas may be difficult to reach with a sander.
- Once you have finished sanding, use a damp cloth or a vacuum with a hose attachment to remove all the dust from the walls.
- Then, you can use a primer, which will help the paint to adhere better and will also cover any stains or imperfections on the walls.
- After the primer is dry, you can start painting.
It is important to note that if you are planning to paint a newly plastered or skimmed wall, it is recommended to sand the walls lightly to remove any surface defects and also to remove any dust that may have accumulated on the surface.
Sanding walls between coats of paint
Sanding walls between coats of paint can improve the overall finish and appearance of the painted surface. Sanding between coats can help to smooth out any imperfections or rough spots, create a more even surface, and help the paint adhere better.
When sanding between coats, it is important to use a fine-grit sandpaper, such as 220-grit or 320-grit, to avoid creating new imperfections or rough spots. A drywall sanding pole can be a useful tool, as it allows you to reach high areas or hard-to-reach spots without having to use a ladder.
If you are planning to sand the entire wall, it is recommended to use an electric sander for a more efficient and effective process. Be sure to wear a dust mask and goggles to protect yourself from the dust created during the sanding process.
After sanding, wipe down the walls with a damp cloth or use a vacuum with a hose attachment to remove all the dust from the walls. Then, you can apply the next coat of paint. Keep in mind that it’s important to let the paint dry completely before sanding between coats to avoid damaging the paint surface.
Sanding between coats of latex paint
That’s correct, when sanding between coats of latex paint, it is important to use the appropriate grit of sandpaper or sanding sponge.
For fresh latex paint, it is recommended to use a fine to medium grit sandpaper, such as 120-grit or 150-grit. These grits are less likely to scratch or remove the paint surface. A fine to medium flexible sanding sponge can also be used for the same purpose, as it will be less likely to damage the paint surface.
It is important to note that latex paint takes up to 30 days to cure completely hard, and using coarser grits of sandpaper or sanding sponge on fresh latex paint can scratch or remove the paint surface.
When sanding cured latex paint, you can use coarser grits of sandpaper, such as 220-grit or 320-grit, to achieve a smoother finish. But be careful not to over-sand, as it could damage the paint surface.
Be sure to wear a dust mask and goggles to protect yourself from the dust created during the sanding process, and wipe down the walls with a damp cloth or use a vacuum with a hose attachment to remove all the dust from the walls before applying the next coat of paint.


