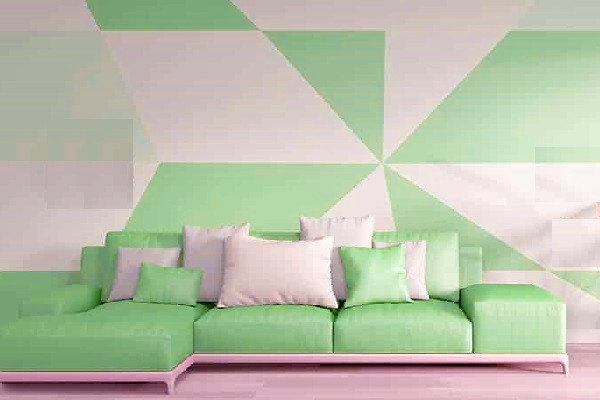
How to paint geometric shapes on walls There are many geometric shapes in this world that can brighten up any room with their unique and intriguing look.
When it comes to decorating your home, you have a lot of options, but geometric shapes might be the best of them all.
With geometric shapes, you can add visual interest to any room and make the space more interesting without taking up much floor or wall space.
Plus, geometric shapes are excellent at showing off your personal style, especially when they’re crafted with bright colors or cool patterns.
How to Paint Geometric Shapes on Walls
So if you’re ready to paint geometric shapes on walls in your home, here’s how to do it the right way!
Step 1: Measure the Wall
Although it may seem like common sense, it’s important to measure your wall before you start painting.
This is so that you can determine what kind of paintbrush or roller you need, as well as giving you a good idea of how long your project will take.
The best way to do this is using a measuring tape and simply drawing a line from one end of the wall to another.
It’s also very important that you not just mark out each corner, but along any and all points where two walls meet.
This can often be tricky in new buildings where there may be lots of different angles and lines coming together.
Step 2: Get the Tools
Use a ruler and straightedge or T-square to draw geometric shapes freehand, or follow along with an architectural pattern.
Using a template is a good way to ensure that you’re drawing your geometric shape in accurate proportion.
Once you’ve chosen your pattern, lay it out on scrap paper as many times as necessary until you’re happy with it.
When it’s time to start applying paint, simply trace over your template using a drywall marker and then tape off any areas that shouldn’t be painted.
Step 3: Draw out your design
On a piece of paper, draw out how you want your design to look like. You can keep it as basic or as complicated as you’d like.
To get started, circle where each geometric shape will go and take note of how big each shape is supposed to be.
If you’re going with a simple geometric pattern, you’ll just need one or two shapes; if you choose something more complicated, four or five shapes might be necessary.
Also, think about what order your shapes should go in (do they all start at a corner?
Step 4: Start Painting!
Now it’s time to start painting your geometric wall art. You can use any type of paint that you want but I’d recommend sticking with latex paints (or water-based) as oil-based paints take a long time to dry and could negatively impact your work.
If you have larger geometric shapes, it would be best if you broke them down into several different sections an example would be if you were painting a triangle, instead of trying to create just one triangle, create 2 separate triangles and paint each one separately.
Final Look + Advice
When it comes to geometric shapes, like triangles, stars or squares, keep in mind that less is more. Painting geometric shapes can be a fun way to make an otherwise dull or plain room come alive.
It’s important that you don’t try adding too many things onto your walls at once when using a geometric shape as your focal point stick with only one or two colors. And remember: mixing up different geometric shapes is always an option!
Paint geometric shapes on wall
When planning how to paint geometric shapes on walls, it’s a good idea to first figure out what style of painting you want.
Are you trying to create a modern look? Are you looking for some classic styles that won’t go out of style? Or are you just looking for something bold and dramatic? Whatever your design choice, be sure that your piece is fully planned out before beginning work.
This will allow you to have precise measurements, so everything fits together perfectly.
For example, when painting geometric shapes like triangles or squares, it’s important that all of them line up perfectly. Even just a few degrees off can change the entire design dramatically.


